The Form Editor is the central workspace where admins create, configure, and maintain forms. From here, it is defined the form’s name, data source, status, and structure, and access the Designer, Preview, Logic, and JSON tabs.
This article explains how to manage the core Form Editor settings and tools.
how to enter a form name
To define the name of a form:
1. Click the Form Name field.
2. Enter a custom form name.
3. Click SAVE.
The form name is used to identify the form in the forms table.
3 STEPS
1. To name a form, click the Form Name field and type a custom name.

2. Then, click SAVE to apply the change.
The form name is used to identify the form in the Forms table.

3. That's it. You have entered a name.

Here's an interactive tutorial
https://www.iorad.com/player/2669058/Forms---how-to-enter-a-form-name?iframeHash=watchsteps-1&lang=en
how to select an object for a form
To select the object that will provide the data structure for the form:
1. Click the Object dropdown.
2. Select an Object.
3. Click Save.
4 STEPS
1. To choose the object that defines the form’s data structure, click on the Object dropdown.

2. Select the appropriate object.

3. Once selected, click SAVE to apply the change.

4. That's it. You're done.

Here's an interactive tutorial
https://www.iorad.com/player/2669065/Forms---how-to-select-an-object-for-a-form?iframeHash=watchsteps-1&lang=en
When accessing the Form Editor directly from the Data workspace (Object view), the Object will be preselected by default.
how to select a form status
New forms are created with the Active status by default, which can be changed at any time. To update the form status:
1. Click the Status dropdown.
2. Select Active or Inactive.
3. Click SAVE.
The form status is visible in the forms table.
4 STEPS
1. Forms are created as Active by default, but you can change this at any time.

2. To update the status, click on the Status dropdown and select Active or Inactive.

3. Then click SAVE.
The selected status is displayed in the Forms table.

4. That's it. You have selected a form status.

Here's an interactive tutorial
https://www.iorad.com/player/2669073/Forms---how-to-select-a-form-status?iframeHash=watchsteps-1&lang=en
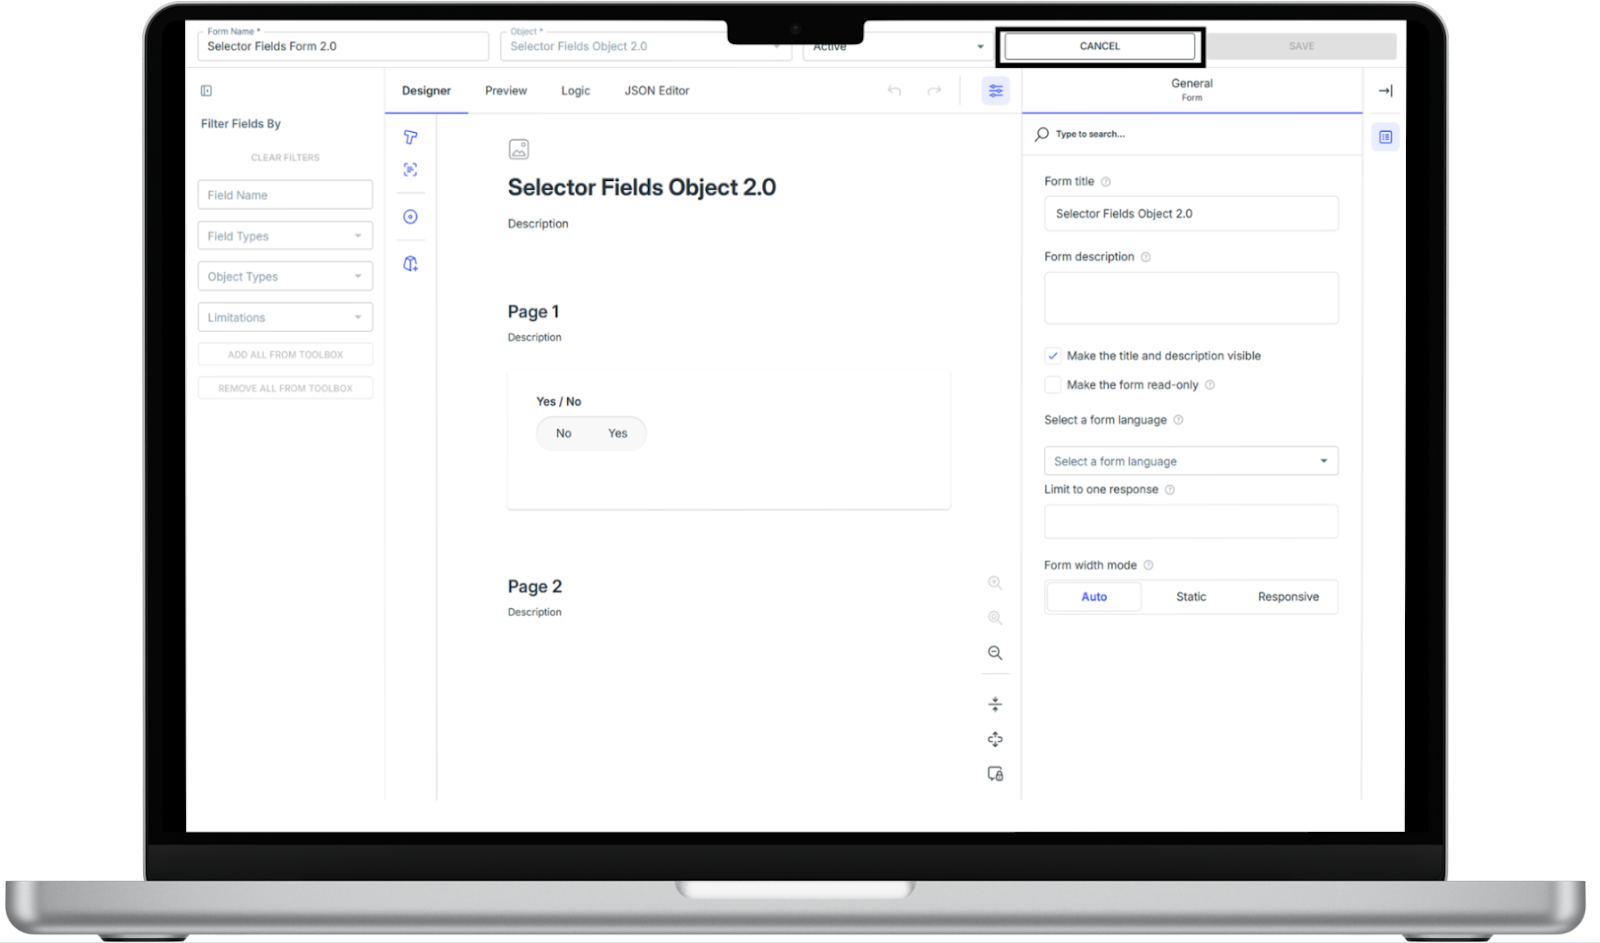
how to cancel changes
To discard unsaved changes:
1. Click the Cancel button.
It will be automatically redirected to the Forms dashboard, and all unsaved changes will be lost.
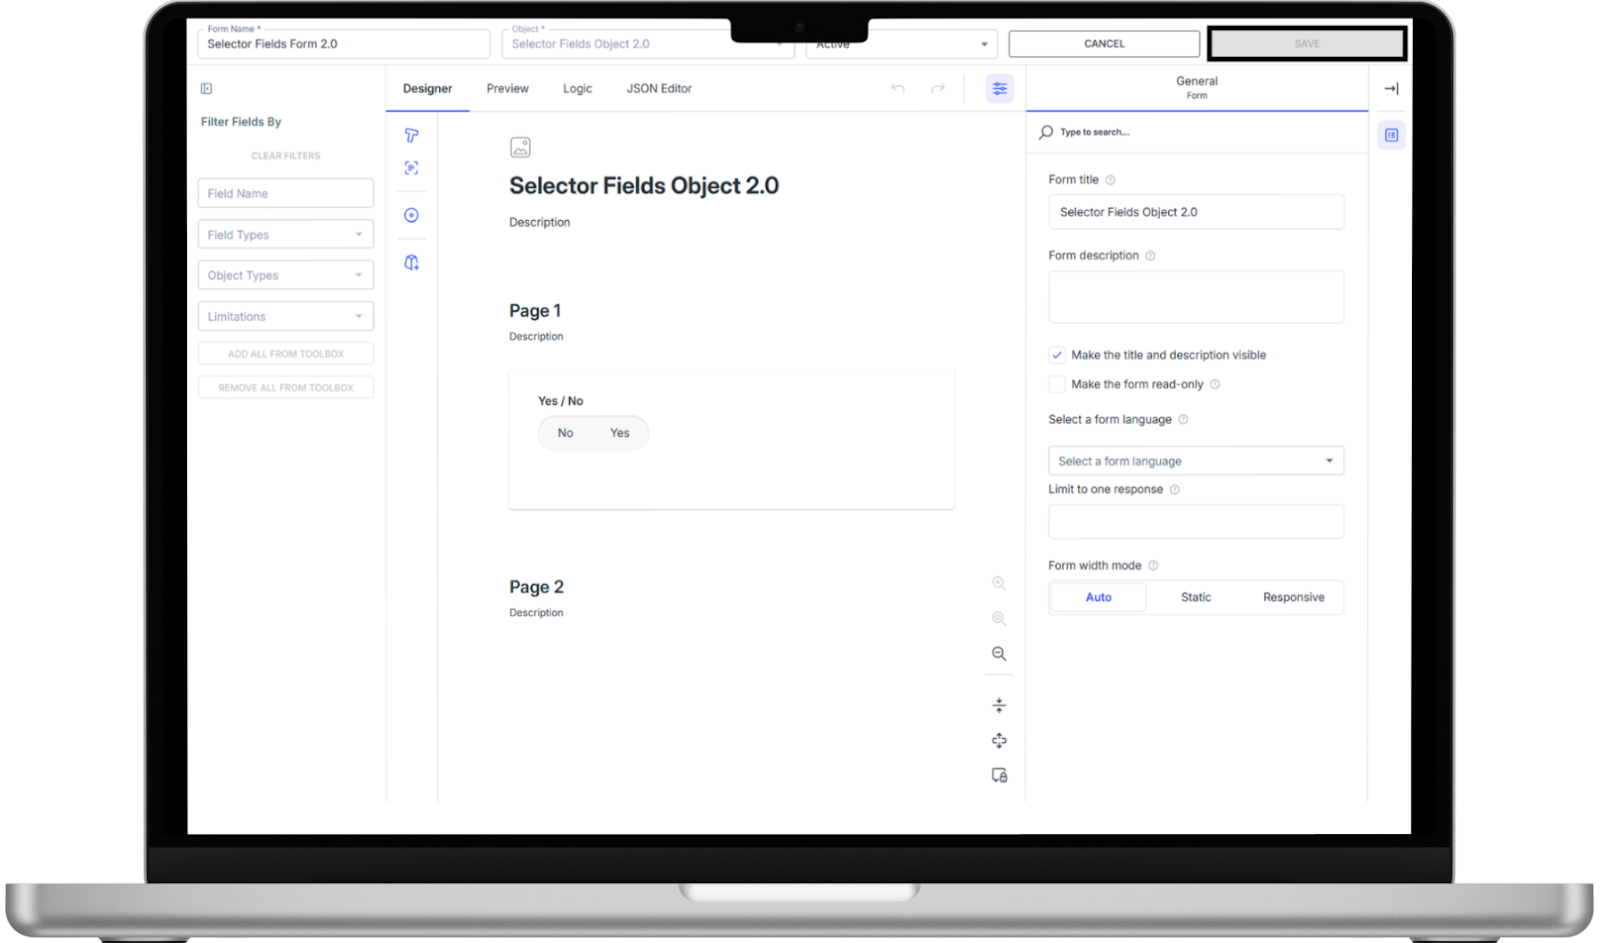
how to save changes in a form
All changes in the Form Editor are saved manually. To save the work:
1. Click the SAVE button.
Changes are not applied until the form is saved.
how to filter fields by field name, field type, object type, and by limitations
To locate fields by name:
1. Click the Field Name filter.
2. Enter a field name.
Only fields that match the entered value will appear in the fields table.
To filter fields by type:
1. Click the Field Type dropdown.
2. Select a field type.
Only fields that match the selected type will appear in the fields table.
To filter fields by object type:
1. Click the Object Types dropdown.
2. Select an object type.
Only fields associated with the selected object type will appear in the fields table.
To filter fields based on limitations:
1. Click the Limitations dropdown.
2. Select a limitation.
Only fields that match the selected limitation will appear in the fields table.
5 STEPS
1. To find a specific field by name, use the Field Name filter. Start typing the field name, and the toolbox updates to show only matching fields.

2. To filter fields by type, open the Field Type dropdown and select the type you’re looking for. Only fields with that type will be displayed.

3. To narrow results by object type, use the Object Types dropdown. Select an object type to view only the fields associated with it.

4. To filter fields based on limitations, open the Limitations dropdown and choose a limitation. The table updates to show only fields that match the selected criteria.

5. That's it. You're done.

Here's an interactive tutorial
https://www.iorad.com/player/2669089/Forms---how-to-filter-fields-by-field-name--field-type--object-type--and-by-limitations?iframeHash=watchsteps-1&lang=en
how to add all fields to a form
To add all available Object fields at once:
1. Click ADD ALL FROM TOOLBOX.
All fields from the selected Object will be added automatically to the form.
3 STEPS
1. To add all available fields from an object at once, click ADD ALL FROM TOOLBOX.

2. All fields associated with the selected object are automatically added to the form layout.

3. That's it. You have added all fields to a form.

Here's an interactive tutorial
https://www.iorad.com/player/2669100/Forms---how-to-add-all-fields-to-a-form?iframeHash=watchsteps-1&lang=en
how to remove all fields from a form
To remove all fields added from the Toolbox:
1. Click REMOVE ALL FROM TOOLBOX.
All Toolbox fields will be removed from the form layout.
3 STEPS
1. To remove all fields that were added from the Toolbox, click REMOVE ALL FROM TOOLBOX.

2. All Toolbox fields are immediately removed from the form layout.

3. That's it. You're done.

Here's an interactive tutorial
https://www.iorad.com/player/2669102/Forms---how-to-remove-all-fields-from-a-form?iframeHash=watchsteps-1&lang=en
